PLEASE READ:
This is still under construction!
I need the time to finish writing this
and need to take some more photos.
I hope you don't mind.
This is still under construction!
I need the time to finish writing this
and need to take some more photos.
I hope you don't mind.
This is a build guide with everything you need to build your own Berg Camera.
I would recommend to read through the whole guide once at first and start building according to it afterwards always checking with the guide.
You can find the files for the project here:
I would recommend to read through the whole guide once at first and start building according to it afterwards always checking with the guide.
You can find the files for the project here:
Parts you need to buy:
Base Structure:
2x SmallRig 15mm Rod - 30cm/12 Inches
3x SmallRig 15mm Rod Clamp 942
2x SmallRig 15mm Rod - 30cm/12 Inches
3x SmallRig 15mm Rod Clamp 942
Screws and Hardware:
8x 3x10mm pan head self tapping screws
8x 3x20mm flat head self tapping screws
4x 3x16mm flat head self tapping screws
16x 4.3mm washers
8x 3x10mm pan head self tapping screws
8x 3x20mm flat head self tapping screws
4x 3x16mm flat head self tapping screws
16x 4.3mm washers
2x M6x20mm hex screws
2x M6 nuts
2x 6.4mm washers
2x M6 nuts
2x 6.4mm washers
Bellows:
1x A2 sheet of 300g/m² cardboard
1x1m light tight fabric
1x1m cover fabric
(This can be any color you want. I used a thin black cotton fabric.)
1x A2 sheet of 300g/m² cardboard
1x1m light tight fabric
1x1m cover fabric
(This can be any color you want. I used a thin black cotton fabric.)
Note:
The complete thickness of the stacked materials should be thinner than 1mm.
The complete thickness of the stacked materials should be thinner than 1mm.
Light seals:
1x A4 sheet of 1mm black felt
1x A4 sheet of 1mm black closed cell foam
1x A4 sheet of 1mm black felt
1x A4 sheet of 1mm black closed cell foam
Additional Parts:
2cm thick open cell foam sheet
Spray adhesive
Super glue
2cm thick open cell foam sheet
Spray adhesive
Super glue
172x90x1mm sheet metal as a dark slide
Making the bellows:
This is probably the trickiest part of the whole build.
Take your time and check every step.
This will require some patience for glue to dry.
Take your time and check every step.
This will require some patience for glue to dry.
This is a cutting template for the fabric parts of the bellows. You need this once out of the cover fabric and once out of the light tight fabric.
This is a cutting template for the paper stiffener in-between the fabric layers. Use the A2 sheet of 300g/m² cardboard for this. You have to make each piece twice.
The current bellows are just a crude first attempt and will be revised in the future. Please follow this guide until then.
3D Printing:
I recommend to print all parts in black. If you decided to use other colors please do so on exterior parts only.
Note: The film back and lid do not fit on a standard sized Prusa/Ender bed!
You need a printer with at least 255mm printing width.
You need a printer with at least 255mm printing width.
Following parts face the interior of the camera or the film. They must be light-tight and printed in black to ensure proper camera function.
Assembly:
Front Standard
Clamp the finished bellows between the two parts of the front bellow holder. The excess material doesn't need to be trimmed. It will act as a light seal between the lens board and camera frame. Push everything into the front standard. Secure the bellows with their frame with four 3x20mm flat head self tapping screws in the front standard. Glue the two M6 bolts in the front standard and glue the screw mount in place. Glue the two uprights into the fork base. Attach the fork to the front standard with a washer and M6 nut on each side.
Mount two sliders with four 3x10mm pan head self tapping screws as well as eight 4.3mm washers.
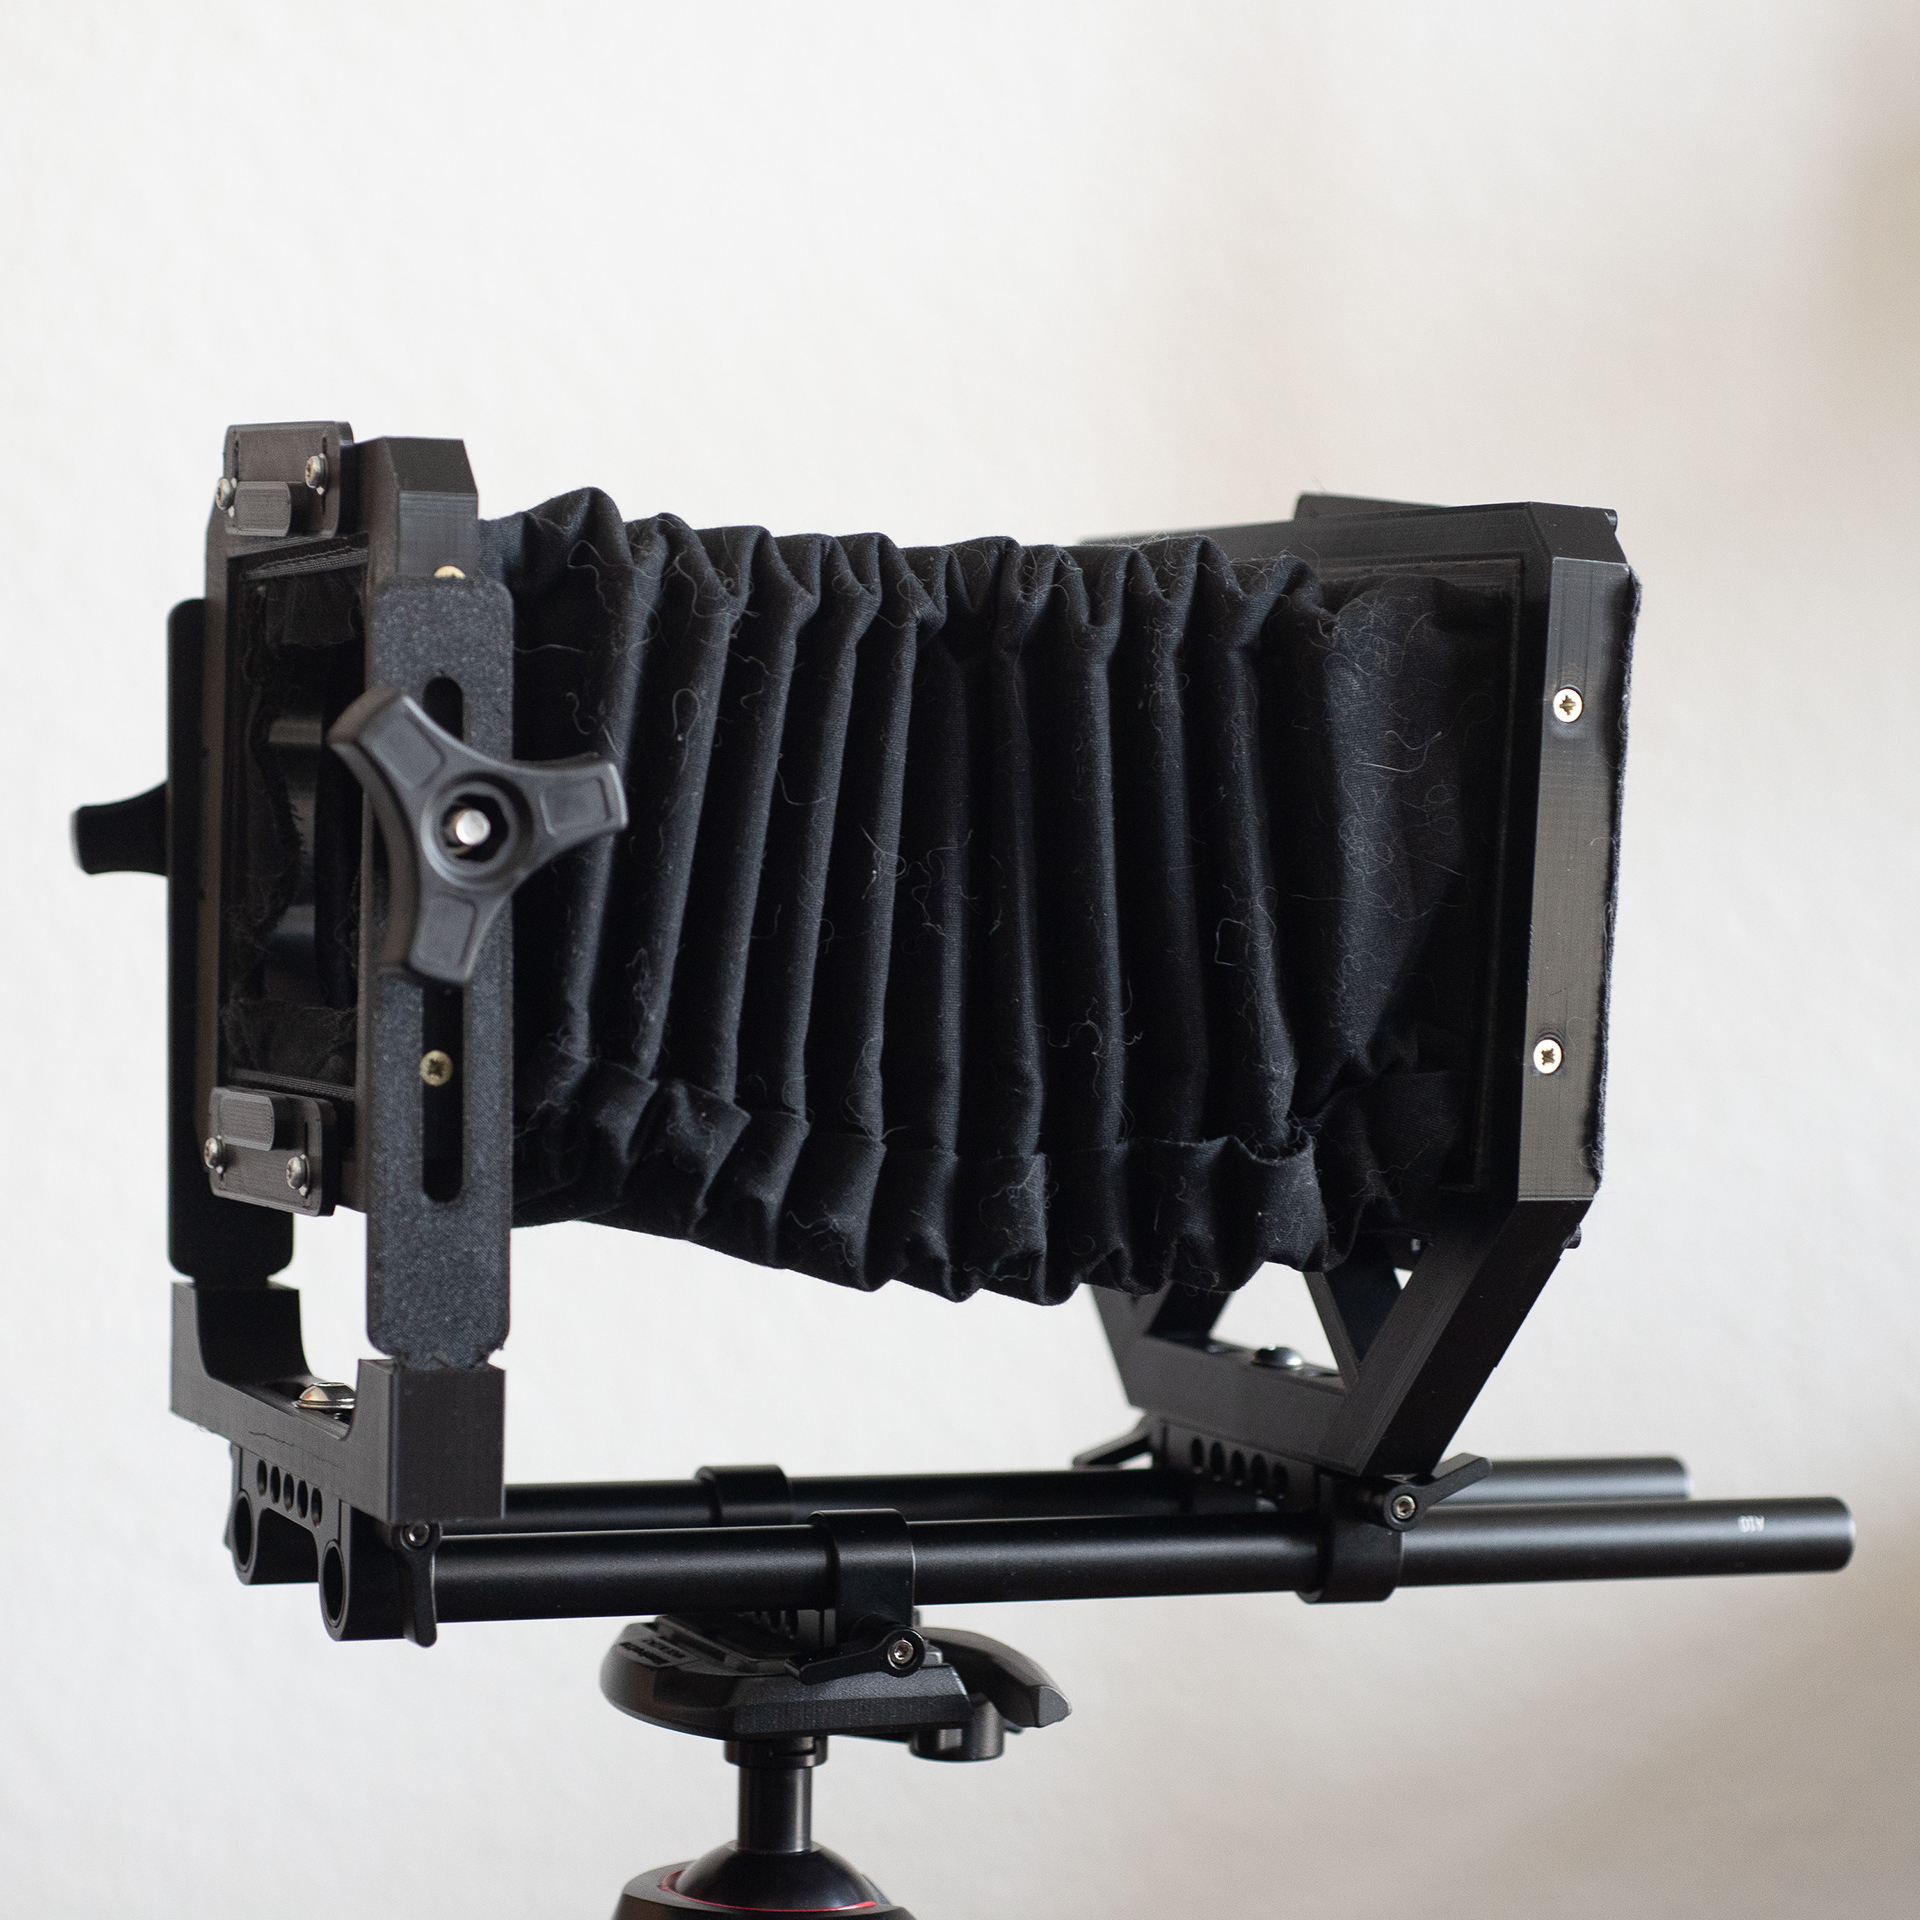
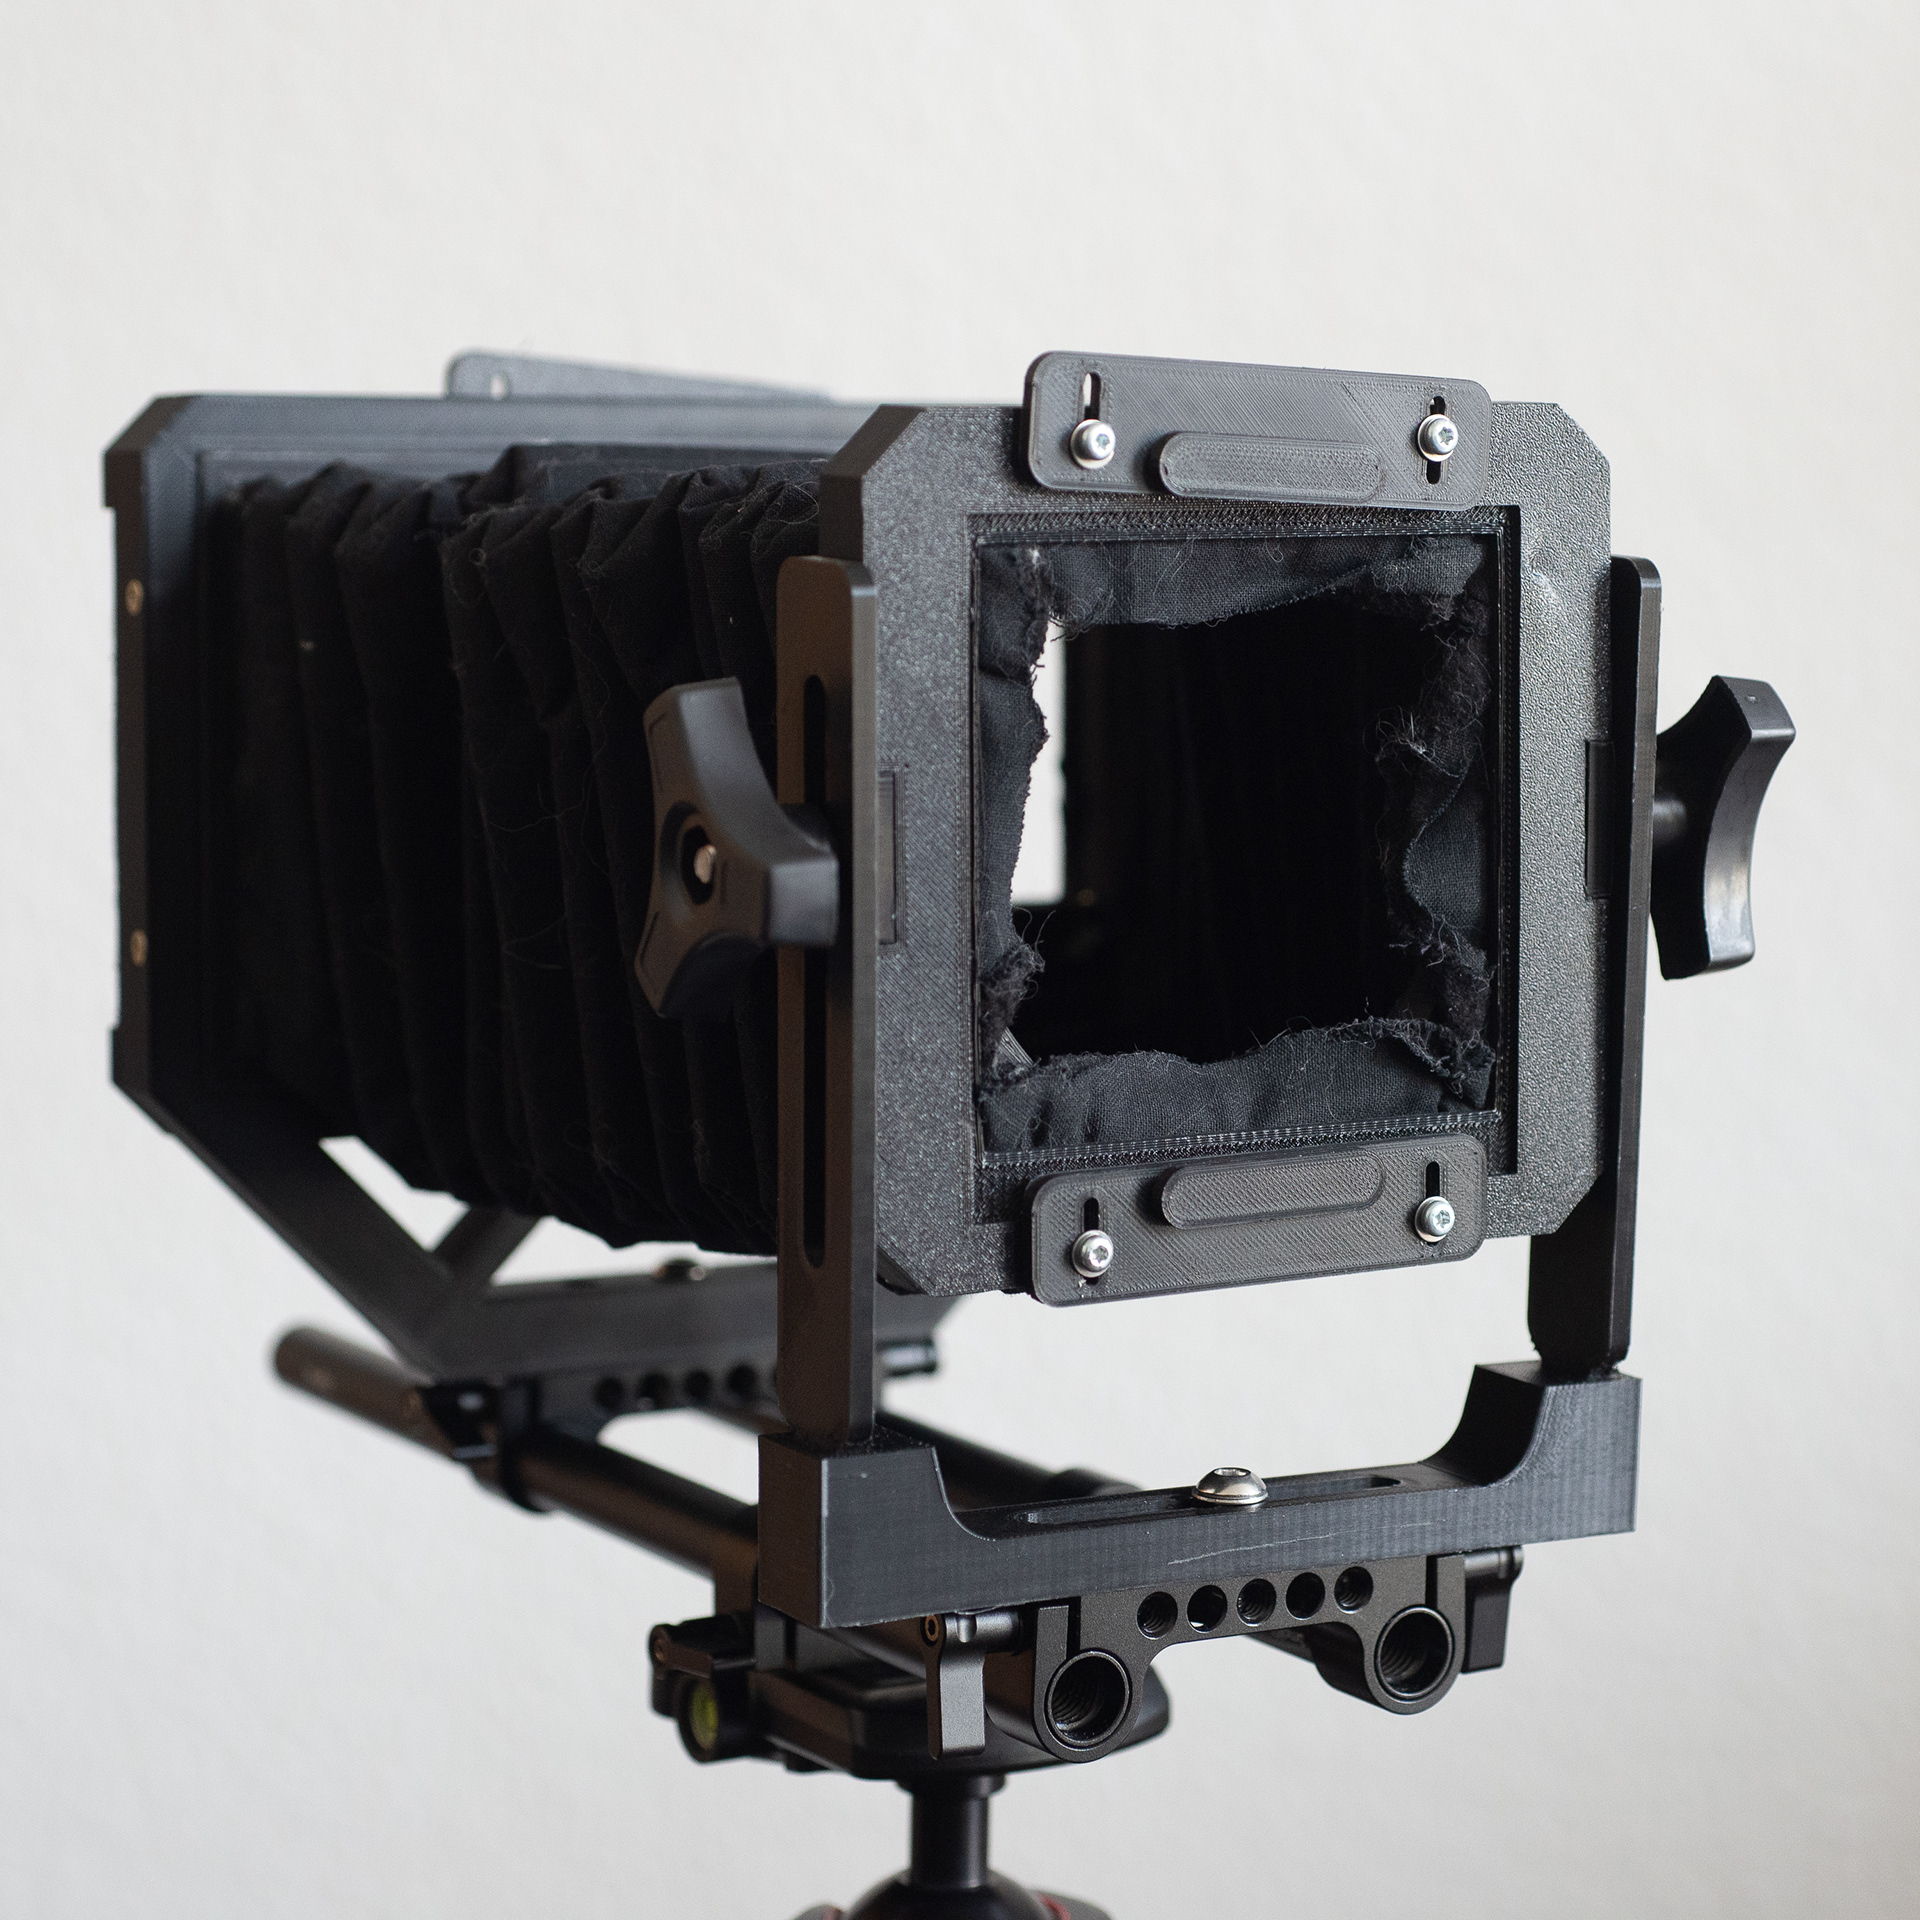
The finished front standard should look like this:
Rear Standard
The process is similar to the front standard. Clamp the finished bellows between the two parts of the rear bellow holder. Trim the excess material flush with the bellow holder and push everything into the rear standard. If the material sticks out too much, it may impact your ability to mount the bellows properly to the rear standard. Secure the bellows with their frame with four 3x20mm flat head self tapping screws in the rear standard. The rear standard should look like this:
Glue and screw the top and bottom support rails to the rear standard. Mount two sliders with four 3x16mm flat head self tapping screws as well as four 4.3mm washers. Note: Only put glue on the underside of the support rails. Do not put glue on the sliders!
Add one piece of 1mm felt on the rear of the rear standard. This will seal the area between the film back and rear standard.
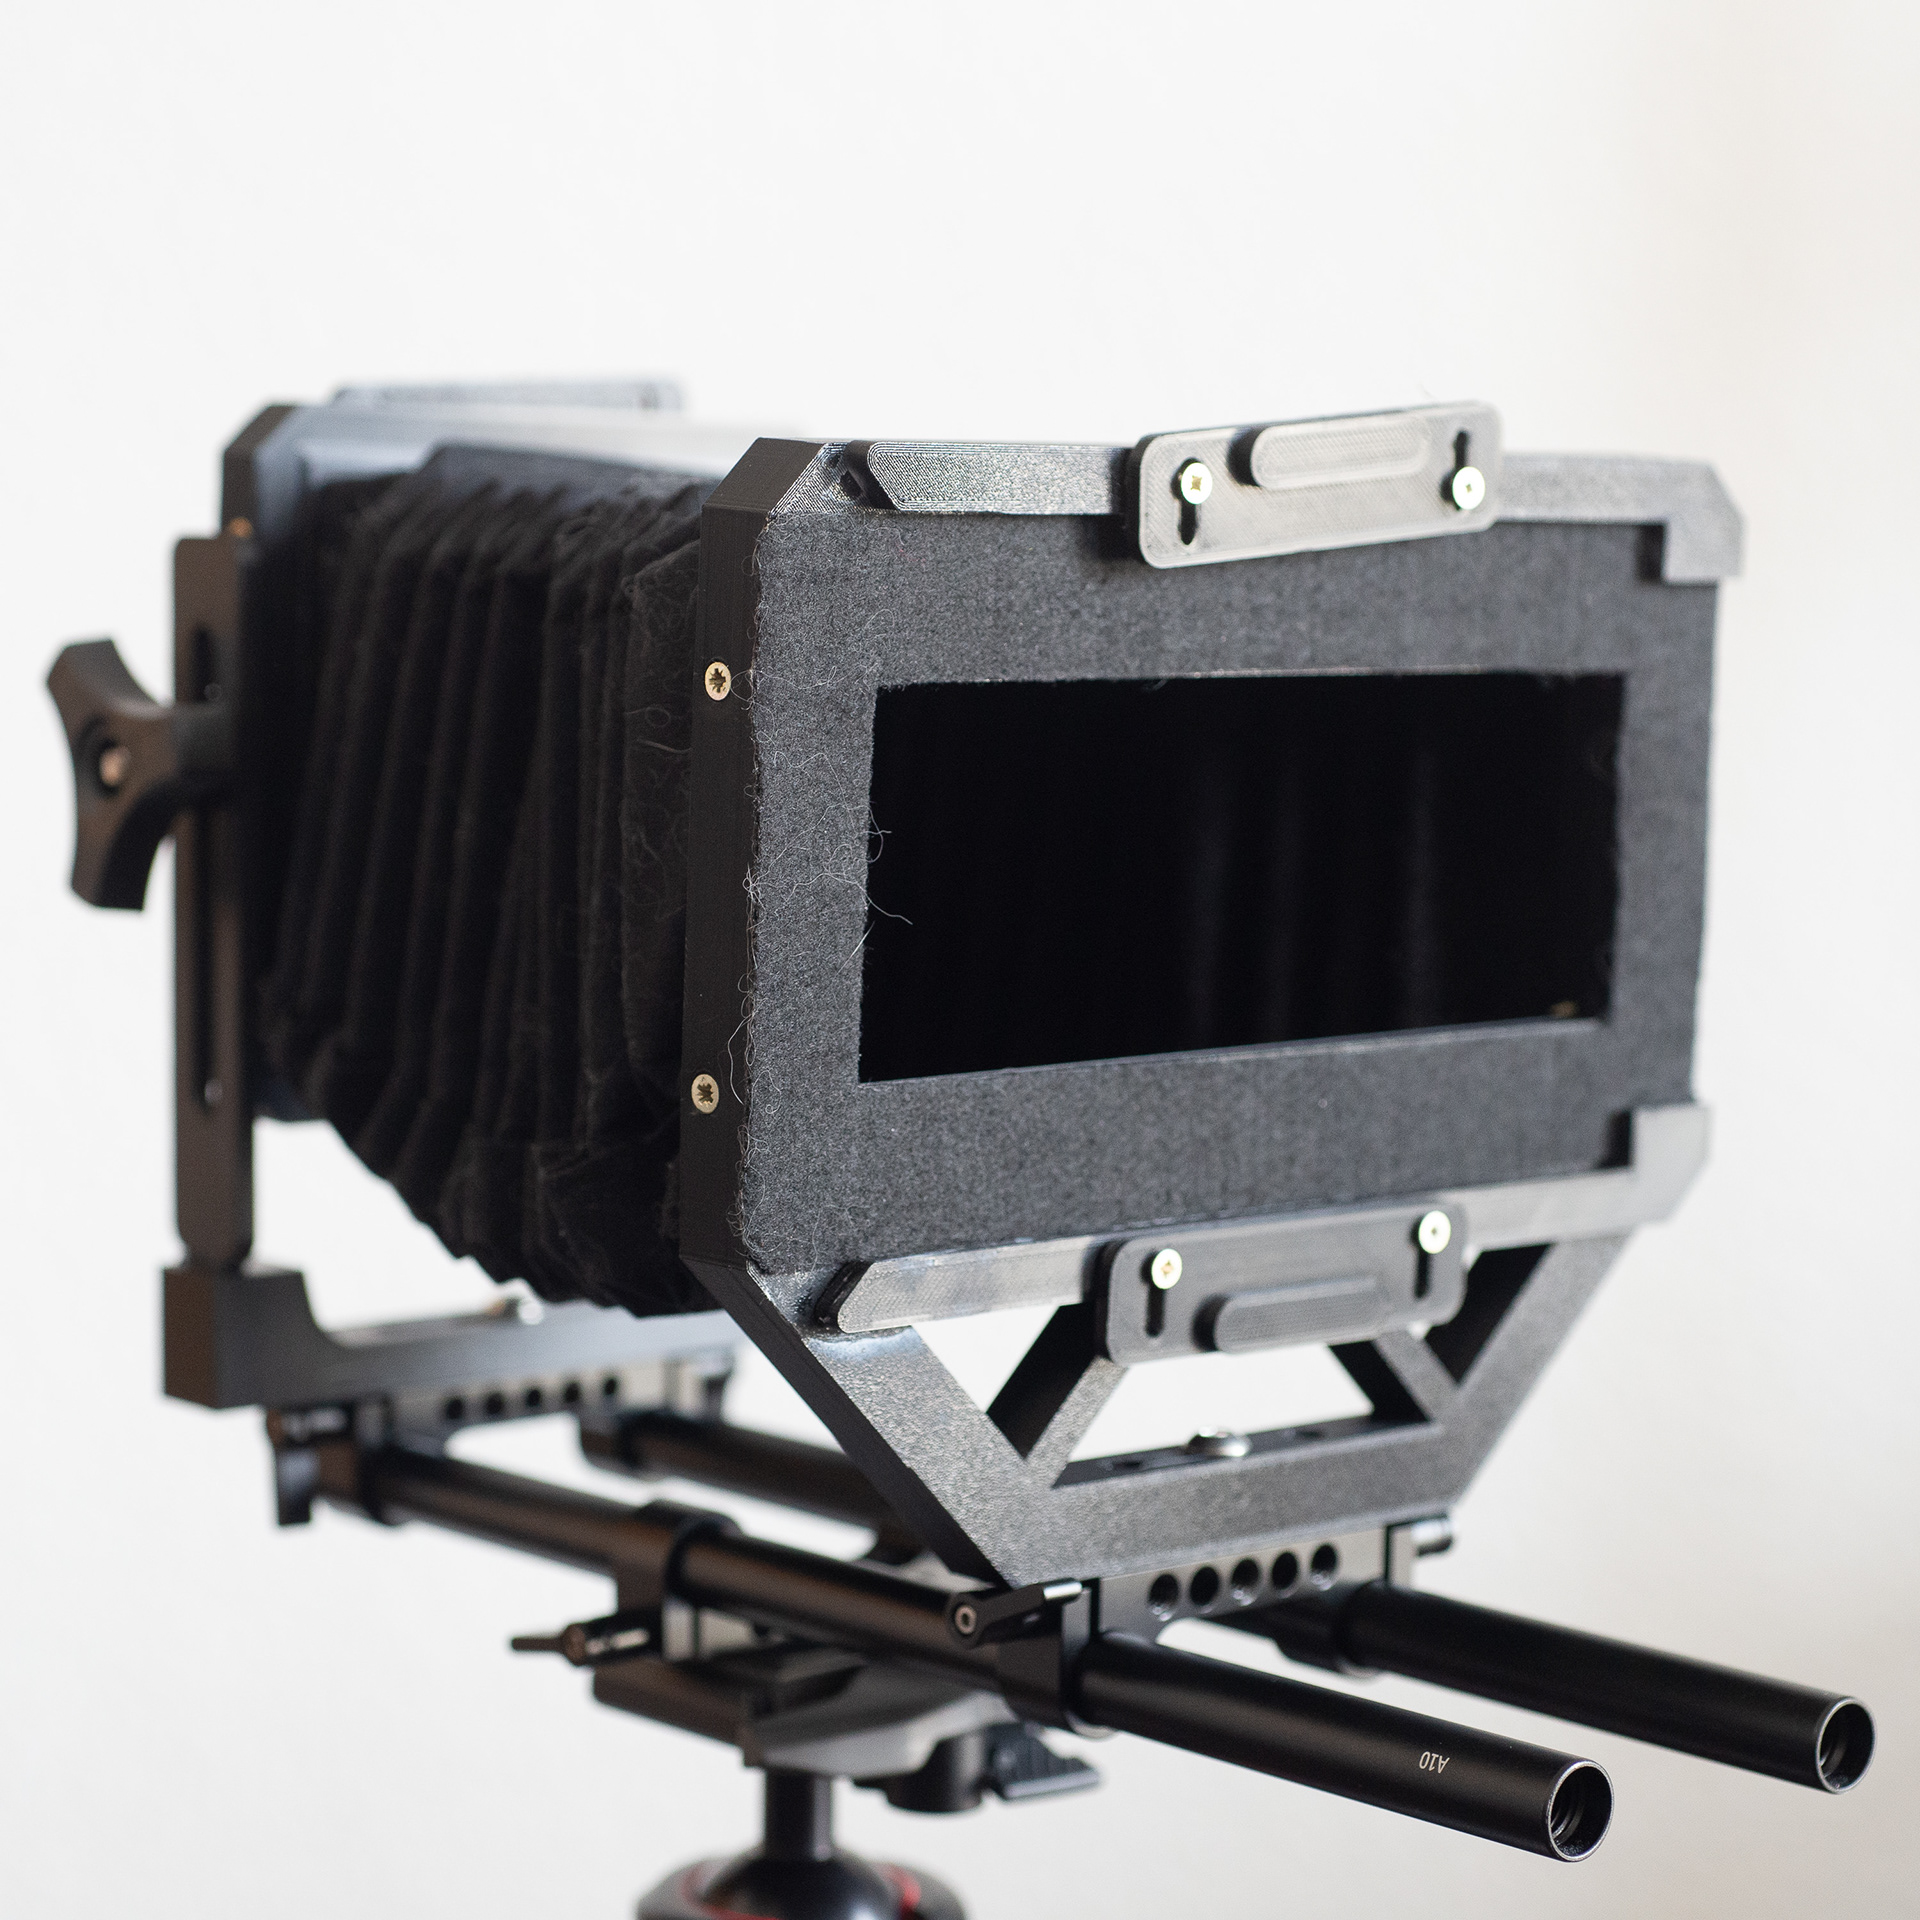
The rear standard should look like this now:
The rear standard should look like this now:
Camera Frame
Start by putting together the SmallRig Rods and Clamps like this:
This will be the base of the camera. You can attach your tripod or a quick change plate to the middle rod clamp. The two other clamps are used to secure the front and rear standard to the base.
Use the included 1/4" screws to secure the front and rear standard to the rod clamps and slide them on the SmallRig base you just assembled.
That's it for the frame. The camera frame should look like this:


Ground Glass Holder
This is probably the easiest part of the whole project. Just drop your ground glass in and seal it in place with some electrical tape or small dots of super glue.
Film Back
This will be a bit tricky and will require some patience for glue to dry.
Watch out and take your time!
Watch out and take your time!
I'll continue this soon! I promise!

